To become a push notification subscriber, you only require to give your permission to receive notifications. When you visit a website with push notifications enabled, a message will pop up asking if you want to receive updates from the site.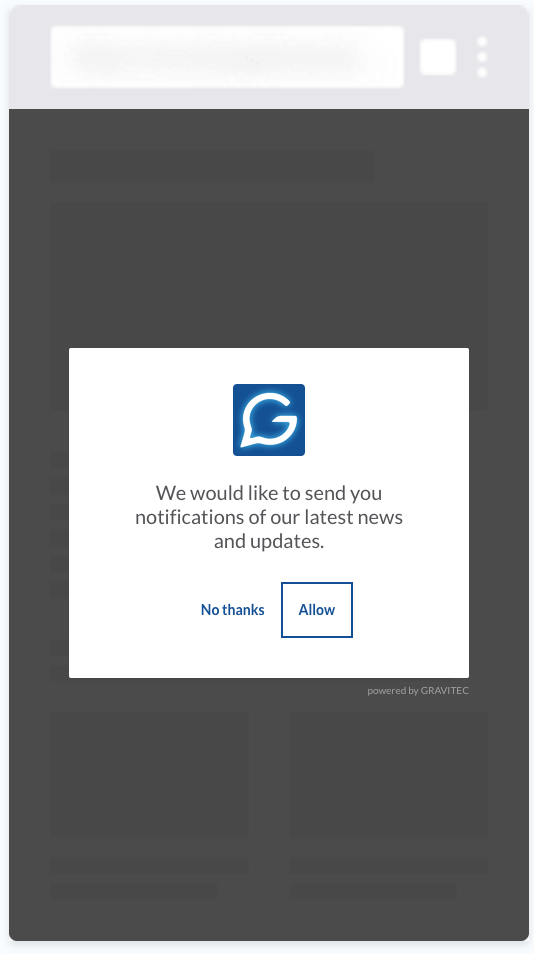
You do not need to fill in any form or enter your email address. Your consent is a sufficient condition for a website to send you notifications.
Thereby the push notifications opt-in rate is twice higher as in email marketing. And with push notifications installed on your website, your subscription base will be ready for sending campaigns within no more than three months, according to push notification statistics.
Add push notifications to your website
With the following push notification optimization tactics, you will increase your push notification subscribe rate. And with our extra tips you will avoid losing subscribers who are already on your subscriber list.
Increase the number of push notification subscribers
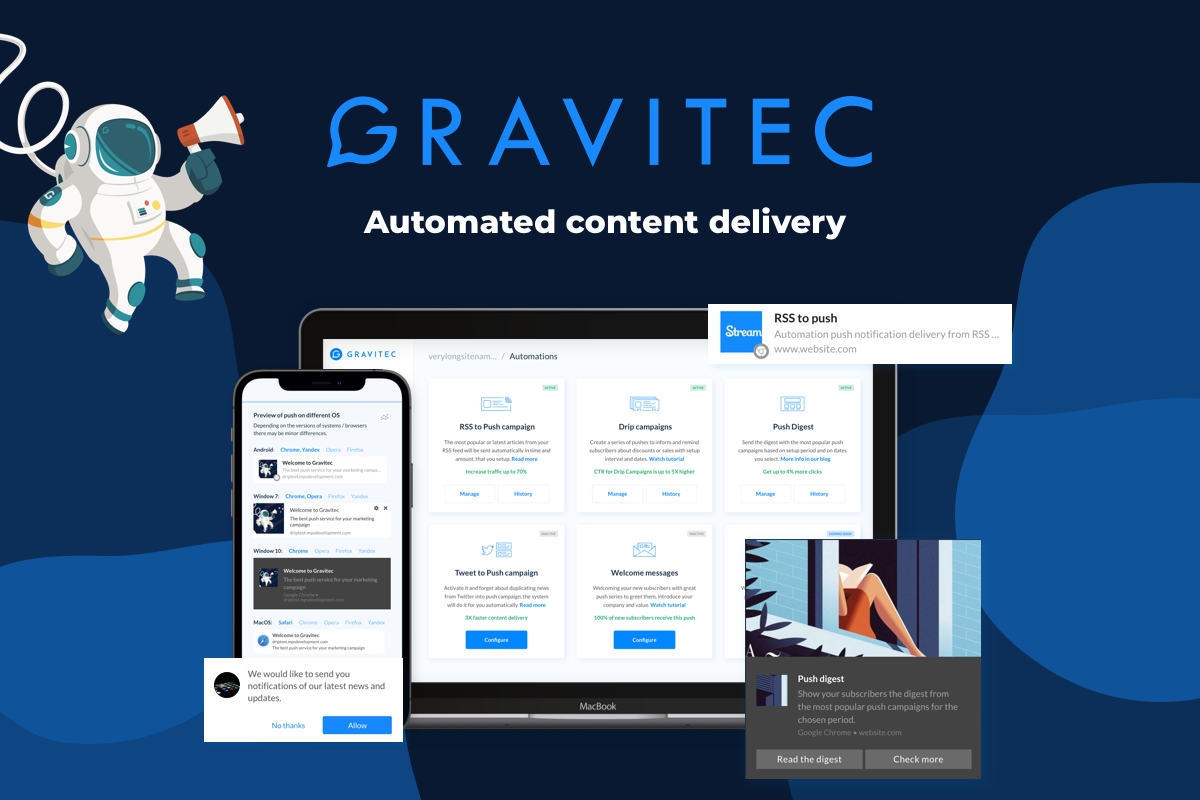
Web push notifications are very easy to implement and set up. After you have installed a push notification service, all you need to do to start getting subscriptions is to customize and schedule your opt-in prompt. Here we show you how to set it up properly with the Gravitec.net web push service.
Start setting up your opt-in prompt
Customize your permission prompt content
To increase your push notifications opt-in rate, start by clearing up your opt-in message. Make sure that your message is easily understood by your visitors. Plus, offer them something valuable, such as getting exclusive offers and being informed about the latest news. Offering a sign-up bonus, such as a discount code or free trial period, can also be an effective way to encourage users to opt in.
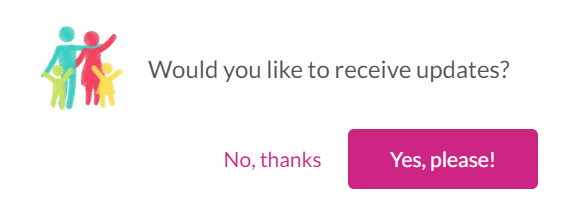
Add your company logo to your prompt and customize the call-to-action buttons. Here are some examples of web push prompts. Decide which is better for your website. 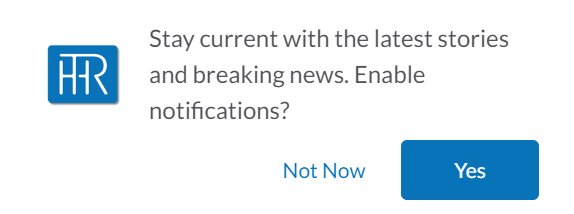
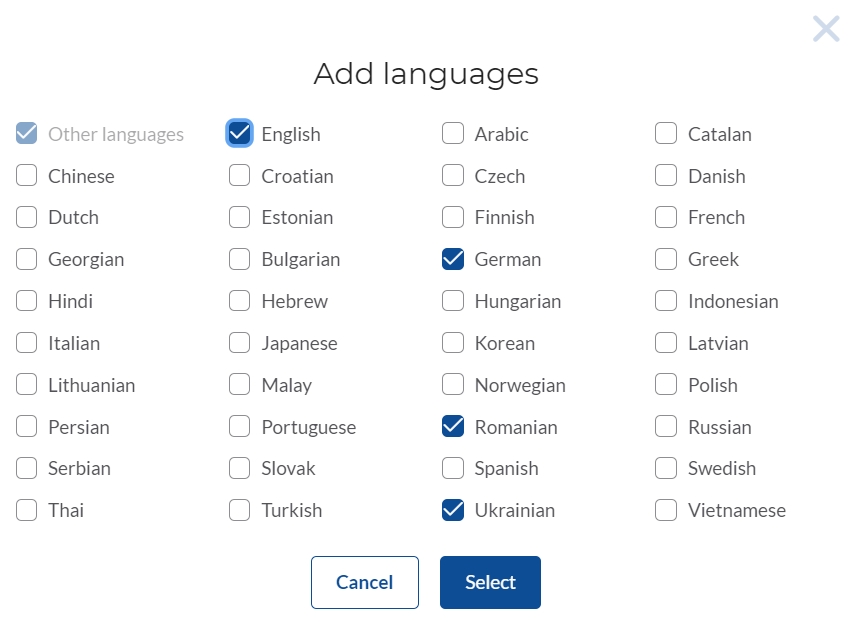
In the Gravitec.net dashboard, you can also add the multi-language option for your prompt, so that people from different countries can see it in their language.
Show permission prompt at the right time
Set up the delay time for your prompt to show it sometime after a user visits your website. This way, you will maintain the balance between showing it right after the person has found the desired content on your website and when they are a few steps away from leaving it. You can test different approaches starting from five seconds. Correlate your delay time with your Google Analytics statistics on the average time spent on your website.
Alternatively, you may wish to show your prompt after some user action, such as after scrolling a page by a certain degree or after a certain number of page views.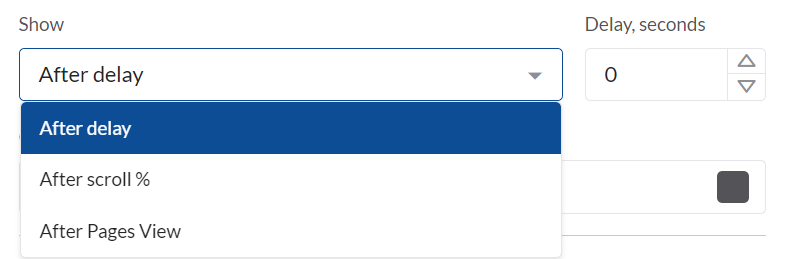
Select the best location for your prompt
Another way to increase your opt-in rate is by choosing the best place to show a prompt. As for ad banners, the best placement is above the fold, close to the main content, and on the left side. Therefore Gravitec.net team recommends using Toast prompts for both device types. 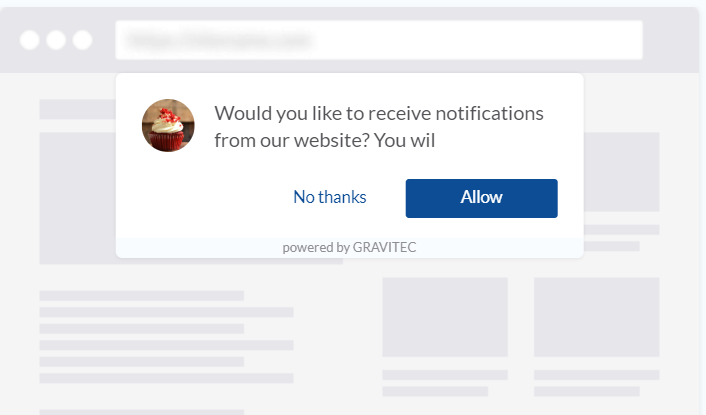
It is crucial to keep in mind that you must configure your prompt settings separately for mobile and desktop devices.
Select pages for showing your prompt
The key to engaging communication is the relevancy of your content to the user’s interest. So you may choose to display your prompt on pages where you have a lot of traffic or for some website categories where you update your content frequently. Another option is to display a permission prompt on pages that attract your targeted traffic. This way, you will know that all your subscribers are warm leads whom you can start nurturing by sending them drip campaigns.
Minimize your unsubscribe rate
Note that whatever you do, you will lose subscribers for natural reasons. Some subscribers lose interest in the topic of a website. Others have achieved their desired objectives, such as purchasing a product they had been searching for. Plus, there is always some percentage of subscribers who had opted in unintentionally.
Bearing this in mind, you may still try to minimize the unsubscribe rate and save subscriber loyalty to your website.
See the brief list of recommendations for minimizing your push notifications opt-out rate. Or check out our complete guide on how to decrease the web push unsubscribe rate.
- Choose the best time to send notifications
- Use segmentation features to send relevant content
- Diversify the content of your push notifications
- Set the optimal frequency for your push campaigns
Following the above recommendations, do not forget to activate automation features, as they will save you time in creating and managing campaigns.
Learn more about RSS to Push and Drip campaign features in the Gravitec.net web push service.
If you are looking for a straightforward push notification service, Gravitec.net is your best fit.
Try it by following the standard registration or installing the Gravitec.net WordPress plugin.